Shadcn Studio Templates Nextjs
Get started with Shadcn Studio Templates for Next.js. A complete guide to installation, setup, configuration, and customization of your Next.js project.
What does the Shadcn Studio Template mean?
The Shadcn Studio Template for Next.js is a comprehensive, production-ready template that comes with everything you need to build modern web applications quickly and efficiently.
Pre-configured Next.js Setup
Latest Next.js version with App Router, TypeScript, and optimal configurations
shadcn/ui Components
Pre-installed shadcn/ui components with Tailwind CSS styling
Layout Structure
Professional layouts with header, footer, sidebar, and navigation components
Responsive Design
Mobile-first, fully responsive components and layouts
Dark Mode Support
Built-in theme switching with dark mode implementation
TypeScript Ready
Full TypeScript support with type definitions
How can I access the Template?
To access the Shadcn Studio Template source code for Next.js, follow these steps:
- If you have purchased pro plan, please login with your credentials.
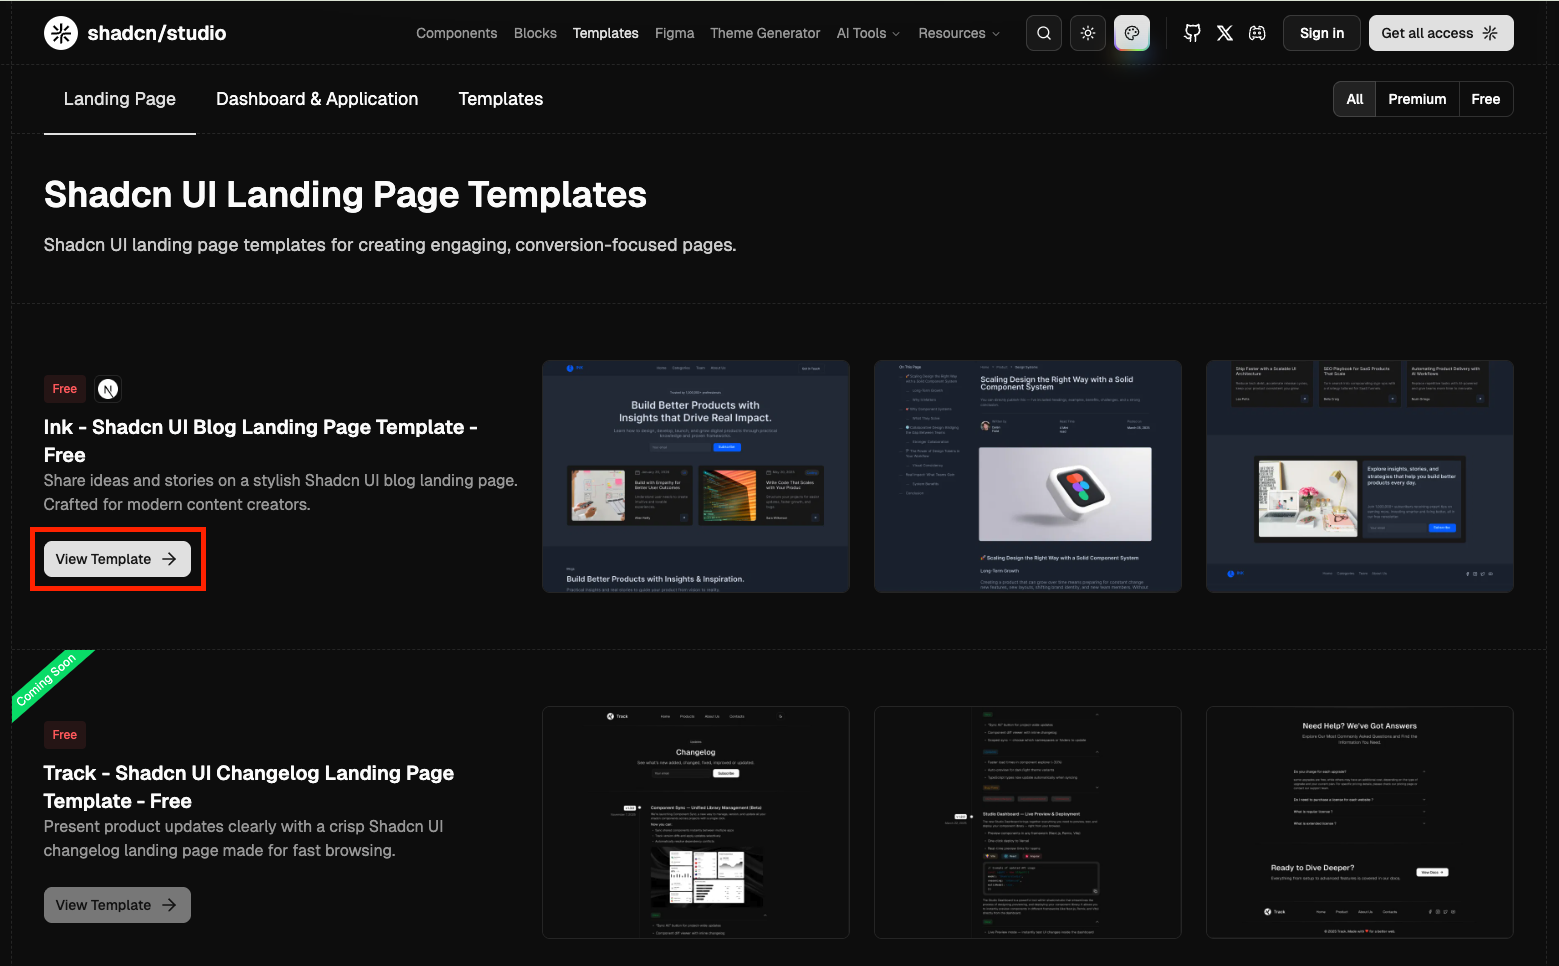
- Navigate to the Templates Page.
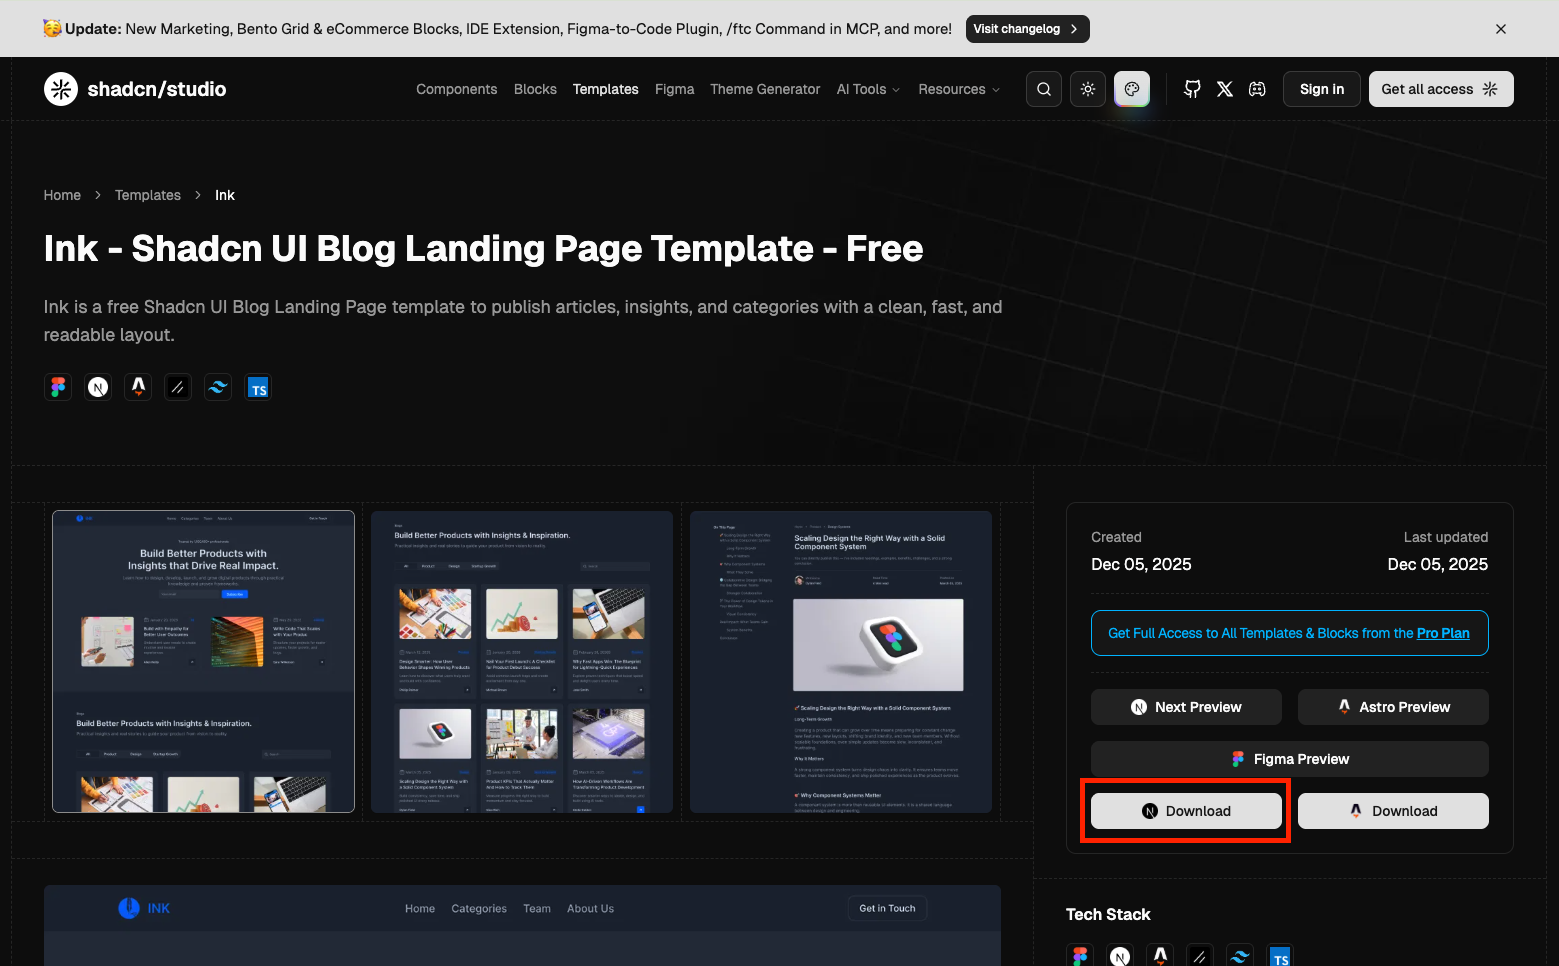
- Checkout out the detail view by clicking "View Template" button for the Shadcn Studio Template you are looking for.
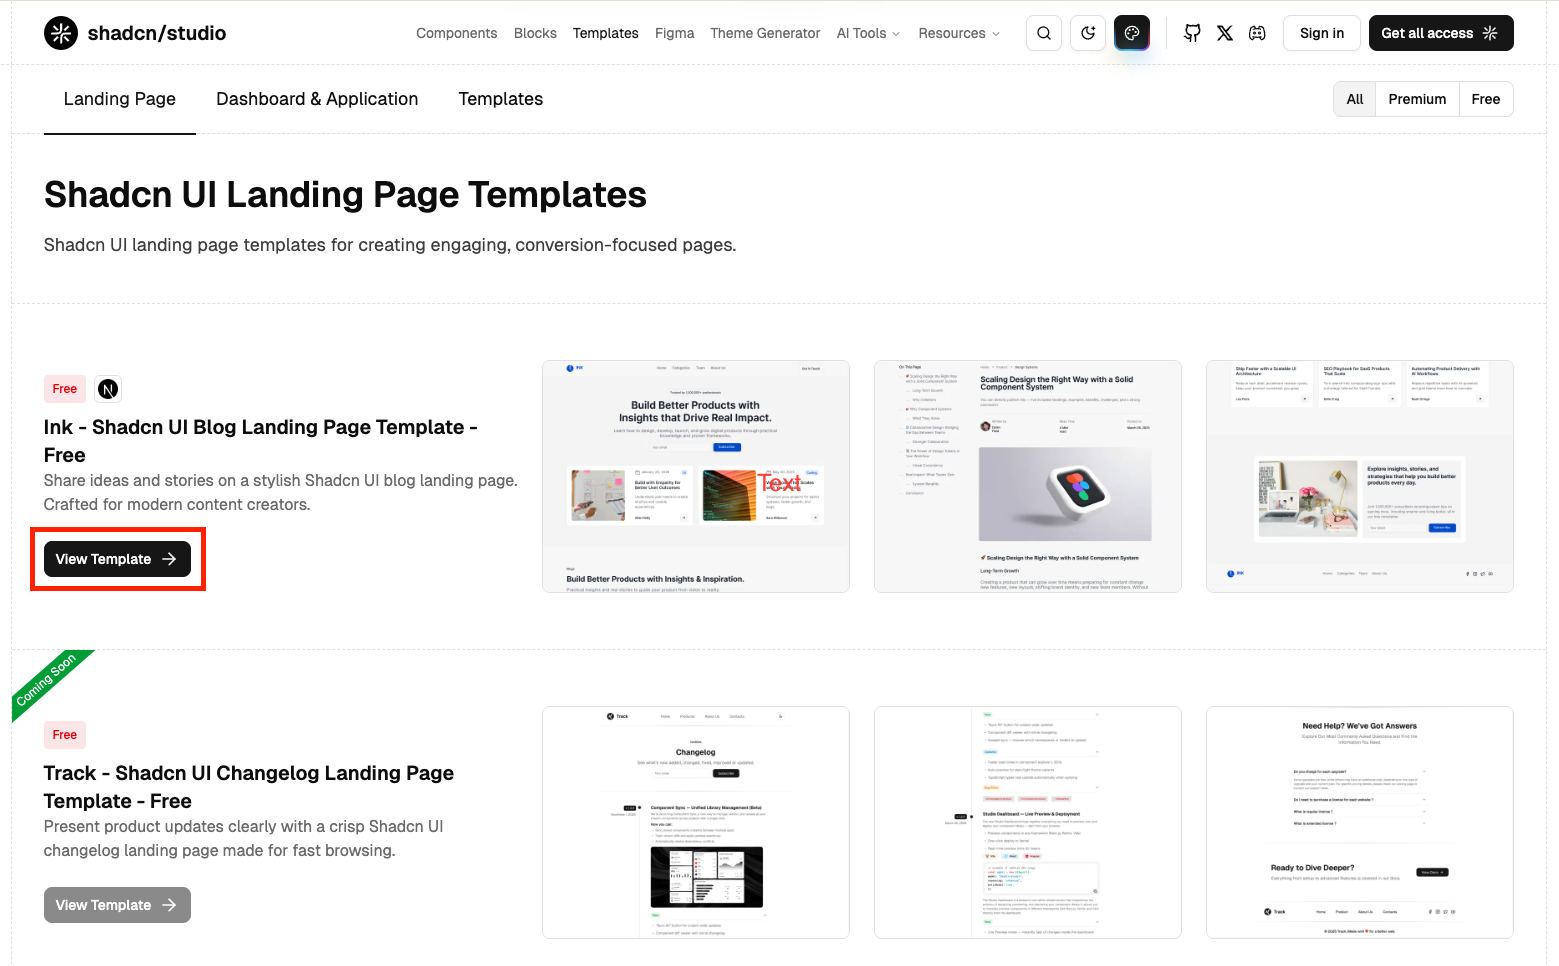
- Click on the "Download" button to download the source code as a ZIP file.
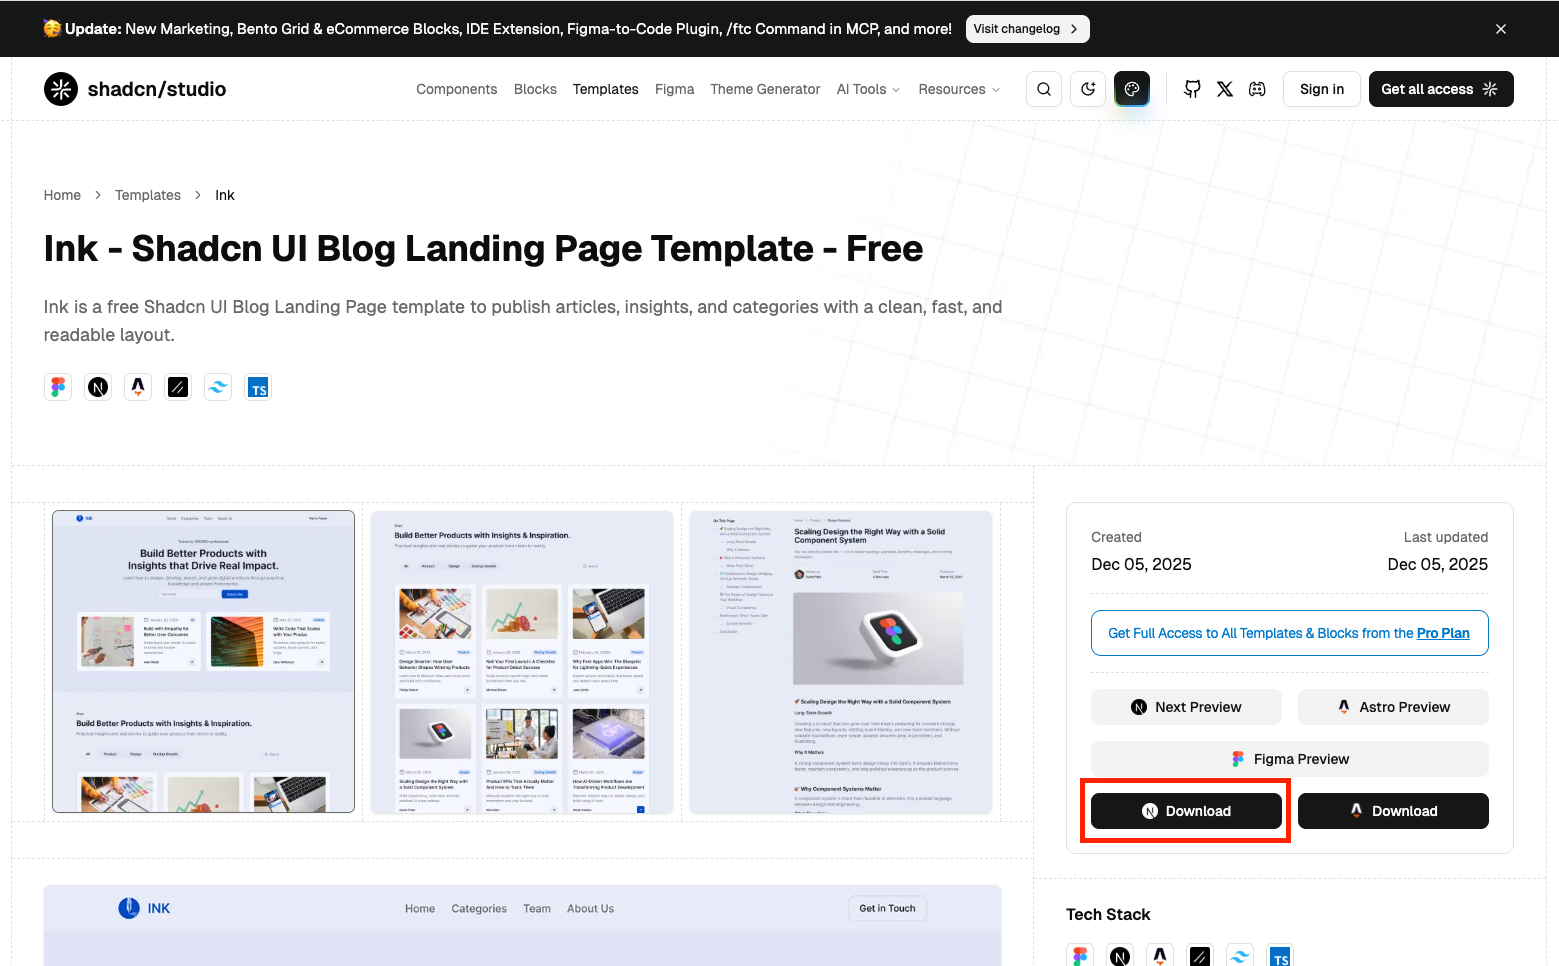
- Extract the downloaded ZIP file to your desired location on your computer.
Folder Structure
The template follows Next.js 16+ App Router conventions with a clean and organized structure:
Key Directories:
src/app/
Contains your application pages, layouts, and route handlers using Next.js App Router
src/components/
Reusable React components including shadcn/ui components in the ui/ subdirectory
src/lib/
Utility functions, helpers, and shared logic including utils.ts for cn() utility
public/
Static assets like images and other files served directly
Getting Started
Before getting started with the Shadcn Studio Template, ensure you have the following requirements:
- Node.js installed on your machine (version 18.17 or higher)
- A package manager like npm, pnpm, yarn, or bun
- A code editor like VS Code or any modern IDE
- Git for version control
Step 1: Install Dependencies
After downloading and extracting the template, navigate to the project directory and install the dependencies:
npm install -g pnpmStep 2:Start Development Server
Once dependencies are installed, you can start the development server:
The development server will start at http://localhost:3000 . Open this URL in your browser to see your application.
Step 3: Build for Production
Before deploying your application, build it for production:
Step 4: Preview the Production Build
This will preview the built site locally:
Available Commands
The template comes with several pre-configured scripts to help you with development, building, and maintaining your project. All scripts can be run using your package manager of choice (npm, pnpm, yarn, or bun) from the root of the project.
| Command | Description |
|---|---|
| dev | Starts the Next.js development server with hot-reload enabled. Your application will be available at |
| build | Creates an optimized production build of your application. This command generates static files and optimizes your code for deployment. |
| start | Starts the production server after building your application. Use this to test your production build locally before deploying. |
| lint | Runs ESLint to check your code for potential errors and code quality issues. This helps maintain clean and consistent code. |
| lint:fix | Runs ESLint and automatically fixes fixable issues. This is useful for quickly resolving common code quality problems. |
| format | Formats all |
| check-types | Runs the TypeScript compiler to check for type errors without generating output files. This ensures your TypeScript code is type-safe. |
How to add a New Page?
Adding a new page in Next.js 14+ is simple when using the App Router. Follow the steps below:
1. Create a new folder
Navigate to src/app/ and create a new folder with your desired route name, for example about. The development server will automatically detect the new route.
2. Add a page.tsx file
Inside the new folder, create a page.tsx file. This file represents your page component.
3. Access your new page
Your new page will be available at http://localhost:3000/about.
How to add a New Section / Block?
- Select the block you want to add to your project.
- Copy the registry command for the selected block.
- Open your terminal and run the CLI command from the project root.
- The block will be added to your project and all required dependencies will be installed automatically.
- Move the block from
src/components/shadcn-studio/blockstosrc/components/blocks. - Copy the corresponding data from
src/app/block-nameand update the required imports where the block is used. - Preview the block in your development server to ensure everything works as expected.
How to add a New Blog?
This template uses an MDX-based blog and the routes are already configured. Simply add a new file insrc/content/blogusing the following frontmatter, and it will appear in the blog.
Add a post (MDX)
How to change the theme of my template?
Themes selected through Theme Customizer may not look exactly the same as the original template preview. This is because a theme can include additional changes beyond colors, such as typography, icon libraries, styles (Nova, Vega, Sera, etc.), and other design settings.
When changing the theme, the associated style (such as Nova, Vega, Sera, etc.) and icon library may also be updated. This can introduce breaking changes, so we recommend selecting the style and icon library that best fit your requirements before proceeding.
To avoid inconsistencies, first choose your desired theme, then manually set the style and icon library to match those used by the landing page template
If you're unsure which style the landing page was built with, check the components.json file in the template. The style property will indicate the style being used (for example,vega or nova). We recommend configuring your project to use the same style as the template and setting the icon library toLucide to ensure maximum compatibility with the template components.
You can update the theme of your template using one of the following two methods:
Method 1: Using Theme CLI (Recommended)
This is the easiest and recommended way to update your theme using the Theme CLI.
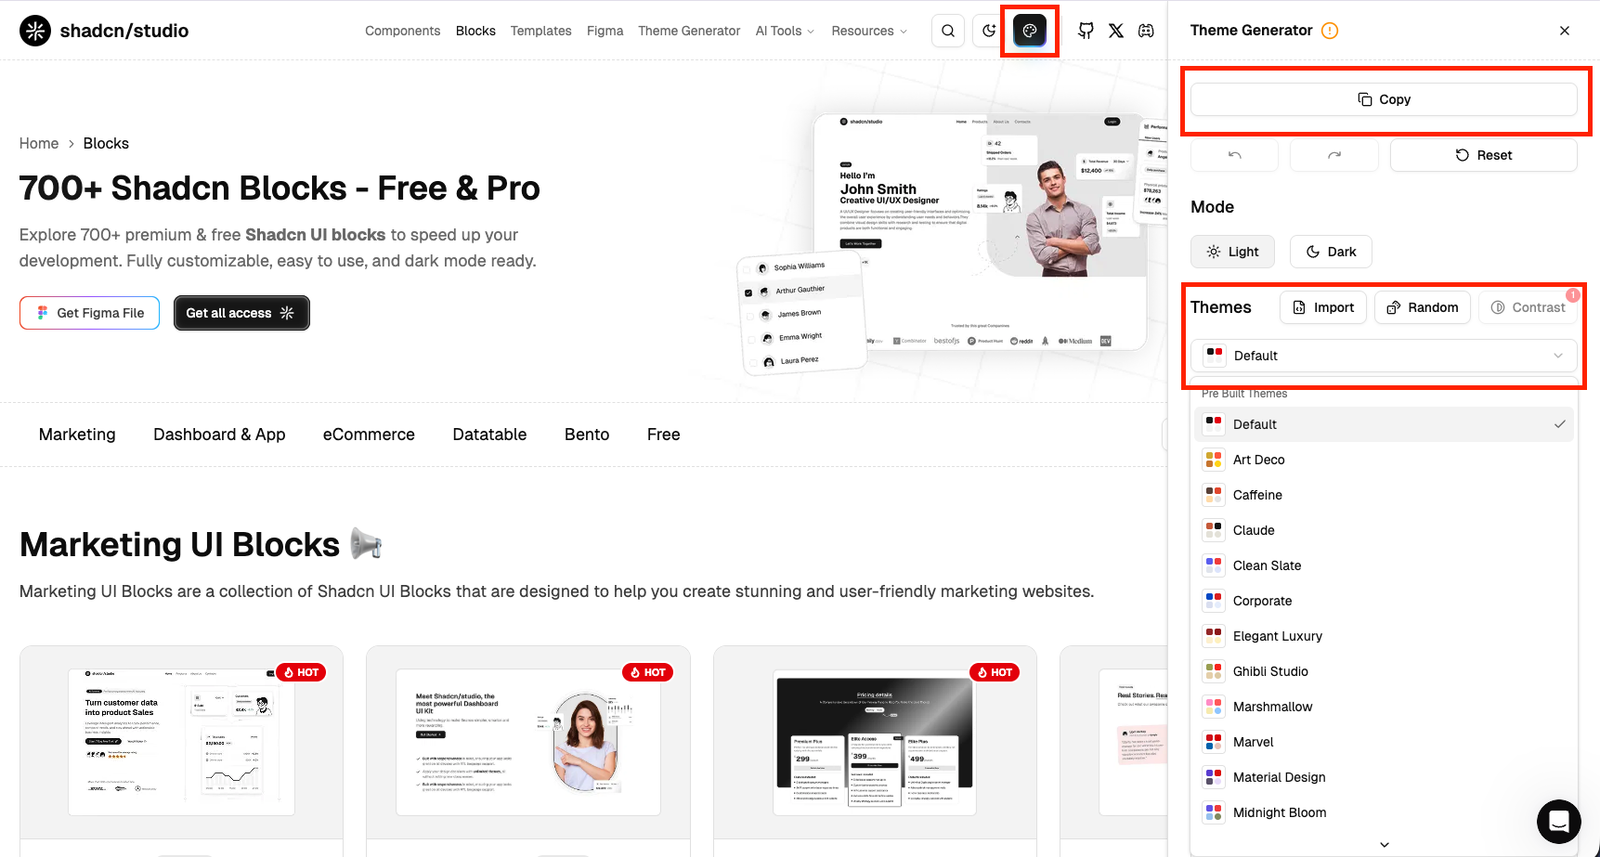
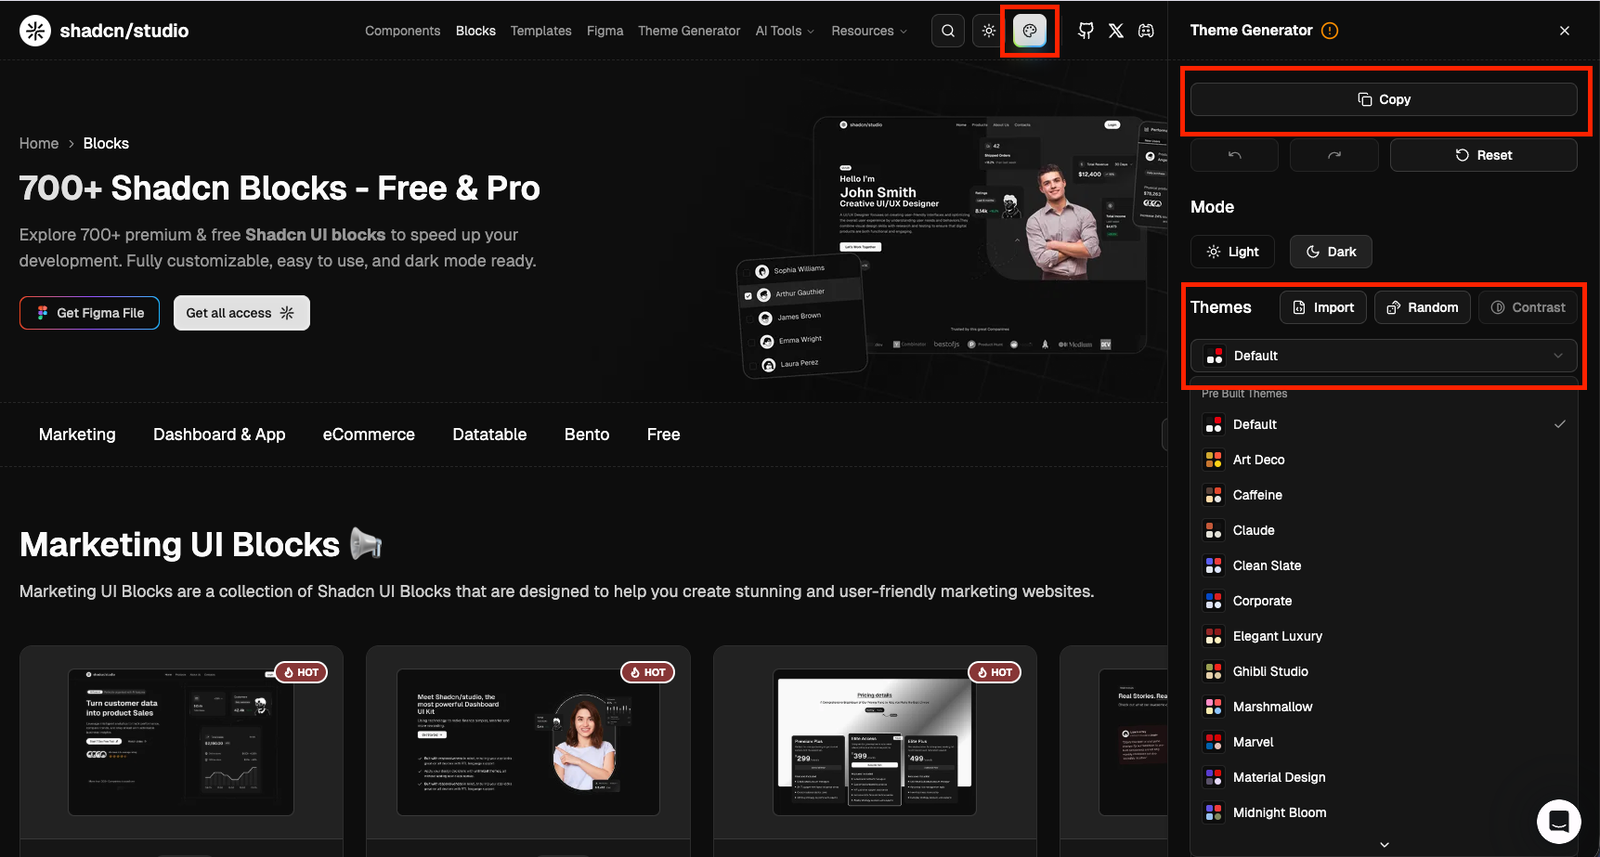
- Open the Theme Generator in Shadcn Studio.
- Select a theme from the Theme dropdown, or create a custom theme using the Theme Generator. For detailed guidance, refer to Theme Generator Documentation.
- Click the Copy button at the top.
- Copy the Theme CLI command based on your preferred package manager. For more details related to the CLI, refer to CLI Documentation.
- Run the copied command in the root directory of your project and it will update your
src/app/globals.cssfile. - To update the font family, note the font variables used by the theme such as
--font-sans,--font-serif, and--font-monoinsrc/app/globals.cssfile. . - Open
src/app/layout.tsxand import the required fonts fromnext/font/googleas shown below (example uses the Pastel Dreams theme):
Finally, map the font variables in src/app/global.css:
Method 2: Manually Updating Theme Variables
Use this method if you prefer full control over theme variables without using the CLI.
- Open the Theme Generator in Shadcn Studio.
- Select a theme from the Theme dropdown, or create a custom theme using the Theme Generator. For detailed guidance, refer to Theme Generator Documentation.
- Click the Copy button to copy all theme variables.
- Open
src/app/global.cssand update the theme variables inside:rootand.darkwith the copied values. - Configure font families by following the font setup step 6 to step 8 described in Theme CLI method.
Deployment
Deploy your Next.js application to production with these simple steps and platform options.
Build for Production
Generate the production-optimized build of your Next.js application:
Preview Build Locally
Test your production build locally before deploying (optional but recommended):
Deployment Platforms
Choose a platform to deploy your application:
Vercel
RecommendedThe easiest way to deploy Next.js applications. Automatic deployments from Git with zero configuration.
Deploy to Vercel →Netlify
Another excellent platform with automatic deployments and serverless functions support.
Deploy to Netlify →Self-Hosted
Deploy to any Node.js hosting provider like AWS, DigitalOcean, or your own server. Requires Node.js 18.17 or higher.
Learn about self-hosting →